Home / Mitered Edges and the Thick Slab Look
How a Thin Slab Becomes a Thick Countertop
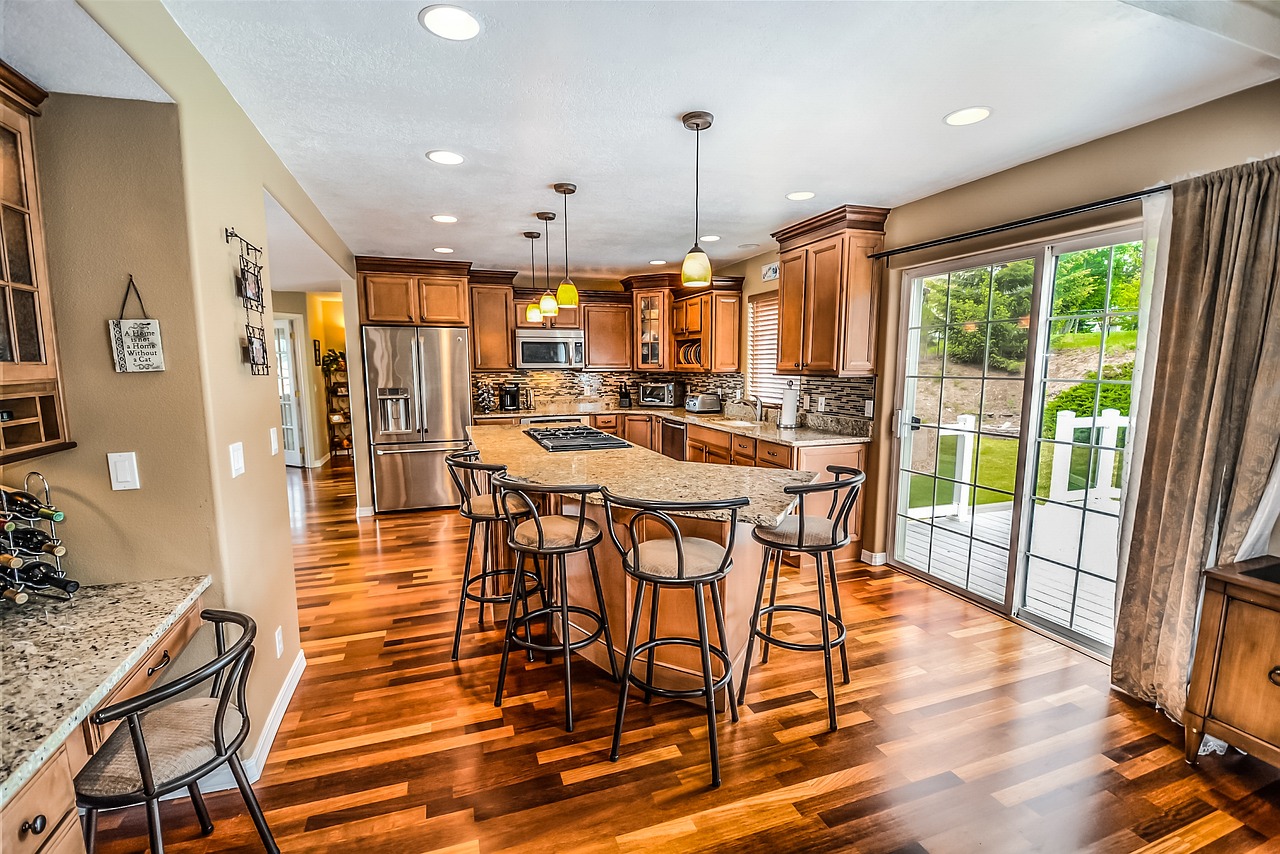
The heavy edged countertops in contemporary kitchen photography are almost never solid stone of that thickness. They are standard slabs with a mitered edge, and the difference between one done well and one done badly is visible from across the room.
How it is made
The top piece and the edge piece are cut from the same slab, each with a forty five degree bevel along the meeting line. They are glued with colour matched epoxy so the two bevels form a right angle, and the outside corner is then polished so the joint disappears. Because both pieces came from adjacent stone, the veining runs off the top surface and continues down the face.
What makes one good
Three things. The vein continuity, which depends on the two pieces being cut adjacent and oriented correctly rather than pulled from wherever the cut list was efficient. The tightness of the joint, which should not read as a line under a fingernail. And the polish across the corner, which should match the top surface exactly rather than showing a slightly different sheen on the returned face.
What makes one bad
A visible dark line at the corner, from epoxy that was not colour matched or a joint that was not tight. Veining that stops dead at the corner and starts again unrelated. A corner that feels sharp, which means it was not eased after polishing. Any of these turn the feature into a defect.
Cost and alternatives
A mitered edge is one of the more expensive details, because it consumes extra slab for the edge strips and takes significant shop time. The cheaper alternative is a laminated build up, where a strip is glued under the front edge without mitering. It gives similar visual weight and the join line is visible on close inspection, which for many kitchens is entirely acceptable at a fraction of the cost.
If you are quoting a build up edge, establish which of the two you are being quoted, because both go by that name. More on the profile options in Edge Profiles, Thickness, and Surface Finish.
Choosing the apparent thickness
A mitered edge lets you specify any apparent thickness you like, and the choice is entirely aesthetic. Around forty to fifty millimetres reads as a subtle upgrade from standard. Sixty to eighty reads as a deliberate contemporary statement. Anything beyond about a hundred is a strong architectural gesture that dominates the room and needs the rest of the kitchen to support it.
The depth also changes the practical experience of the counter. A very thick edge on a run where you stand close means the front face of the stone is what your legs meet, and on an island with seating a deep edge reduces knee space by its own thickness. Neither is a problem if it is considered in advance and a problem if it is not.
Where the material comes from
The edge strips are cut from the same slab, which means a mitered edge consumes noticeably more material than a simple one. On a kitchen with a long perimeter and an island, the extra strip material can push the job from two slabs to three. This is the main reason mitered edges cost what they do, and it is worth asking the fabricator whether the edge detail changes the slab count before committing to it.
Where the strips are taken from within the slab determines whether the veining continues convincingly. Strips cut from directly adjacent to the top piece continue the pattern. Strips cut from a leftover corner of the slab do not, and on a strongly veined stone the difference is obvious. This is a layout decision you can ask to see.
Waterfall ends
A waterfall is a mitered edge turned through ninety degrees and run to the floor, so the stone appears to fold over the end of the island and continue down. It uses the same joining technique at a much larger scale, and everything about executing a good miter matters more because the joint is at eye level and a metre long.
Vein continuity around a waterfall corner is the mark of a shop that has planned it. Done properly, the pattern flows off the horizontal surface and down the vertical one without interruption. Done carelessly, it is two unrelated pieces of stone meeting at a corner, which is a considerable amount of money for a detail that no longer reads as intended.
What to ask to see
Ask the fabricator for photographs of mitered work they have done, ideally taken close to the corner. Ask whether the strips will be cut adjacent to the top piece. Ask what colour the epoxy will be. If they have a sample corner in the shop, run a fingernail across the joint, which tells you more in two seconds than any photograph.
A shop that does this work regularly will have all of that ready, because customers ask. A shop that does not will offer the detail anyway, since it is a profitable line, and the result is where most disappointing miters come from.
Living with a thick edge
Once installed, a mitered edge behaves like solid stone and needs nothing special. The one habit worth adopting is the same one that applies to any stone edge: do not use the projecting front corner as a bottle opener, a nut cracker, or an impact surface. A mitered corner is stone at an angle and it chips like stone, and a chip on the corner of a build up edge is more conspicuous than one on a simple eased edge because it exposes the glue line.
Chips are repairable. A colour matched epoxy fill and a careful polish makes a small one very difficult to find, and any fabricator can do it. It is worth asking at handover whether they offer that service and roughly what it costs, so that when it eventually happens you call them rather than living with it or attempting it yourself with a filler kit.
Nobody in Fairview or Skyland commissions enough kitchens to learn edge fabrication by repetition, so the evidence that helps is other people's finished corners rather than your own, and collecting that evidence from local installations is a good part of what asheville countertops installation corner spends its time on.
A mitered edge is worth paying for when you want visual weight and you have seen the shop's previous work. It is worth skipping when the quote is simply for a build up and nobody has confirmed which of the two constructions is meant. Ask where the edge strips will be cut from, ask what colour the epoxy will be, and put a finger across a sample corner. Those three checks separate the detail that makes a kitchen from the detail that quietly disappoints for the next fifteen years.